From Idea to AI App in 10 Minutes
A timed speed-run for building a simple AI app in drio: define one tool, connect Open-Meteo, preview the result, publish the endpoint, and test it in ChatGPT.
Yes, you can go from idea to a simple AI app in about 10 minutes, but only if you keep the first build tight. One tool, one clean data source, one useful response format, and one real prompt is enough. The mistake most people make is trying to build the second version first.
This tutorial is the fast path. We are building a lightweight weather app in drio using Open-Meteo, previewing it, publishing the endpoint, and then testing it in ChatGPT. If you want the slower, fuller walkthrough of the same API pattern, go to Connecting Your First API. If you want the category context first, read Build AI Apps Without Code.
What you will have at the end
By minute ten, you should have:
- one app with a clear name
- one weather tool with a
cityinput - one Open-Meteo-backed data flow
- one preview that feels usable
- one published MCP endpoint you can test in ChatGPT
That is enough to learn the full loop without drowning in edge cases.
0:00 - Start with one job
Open drio and create a new app.
Give it a simple internal name like:
Weather Dashboard
The key is not the name. The key is the scope. The first app should answer one obvious user request well.
In this tutorial, that request is:
- "What is the weather in this city?"
If you start with something broader than that, the clock gets eaten by product decisions instead of build decisions.
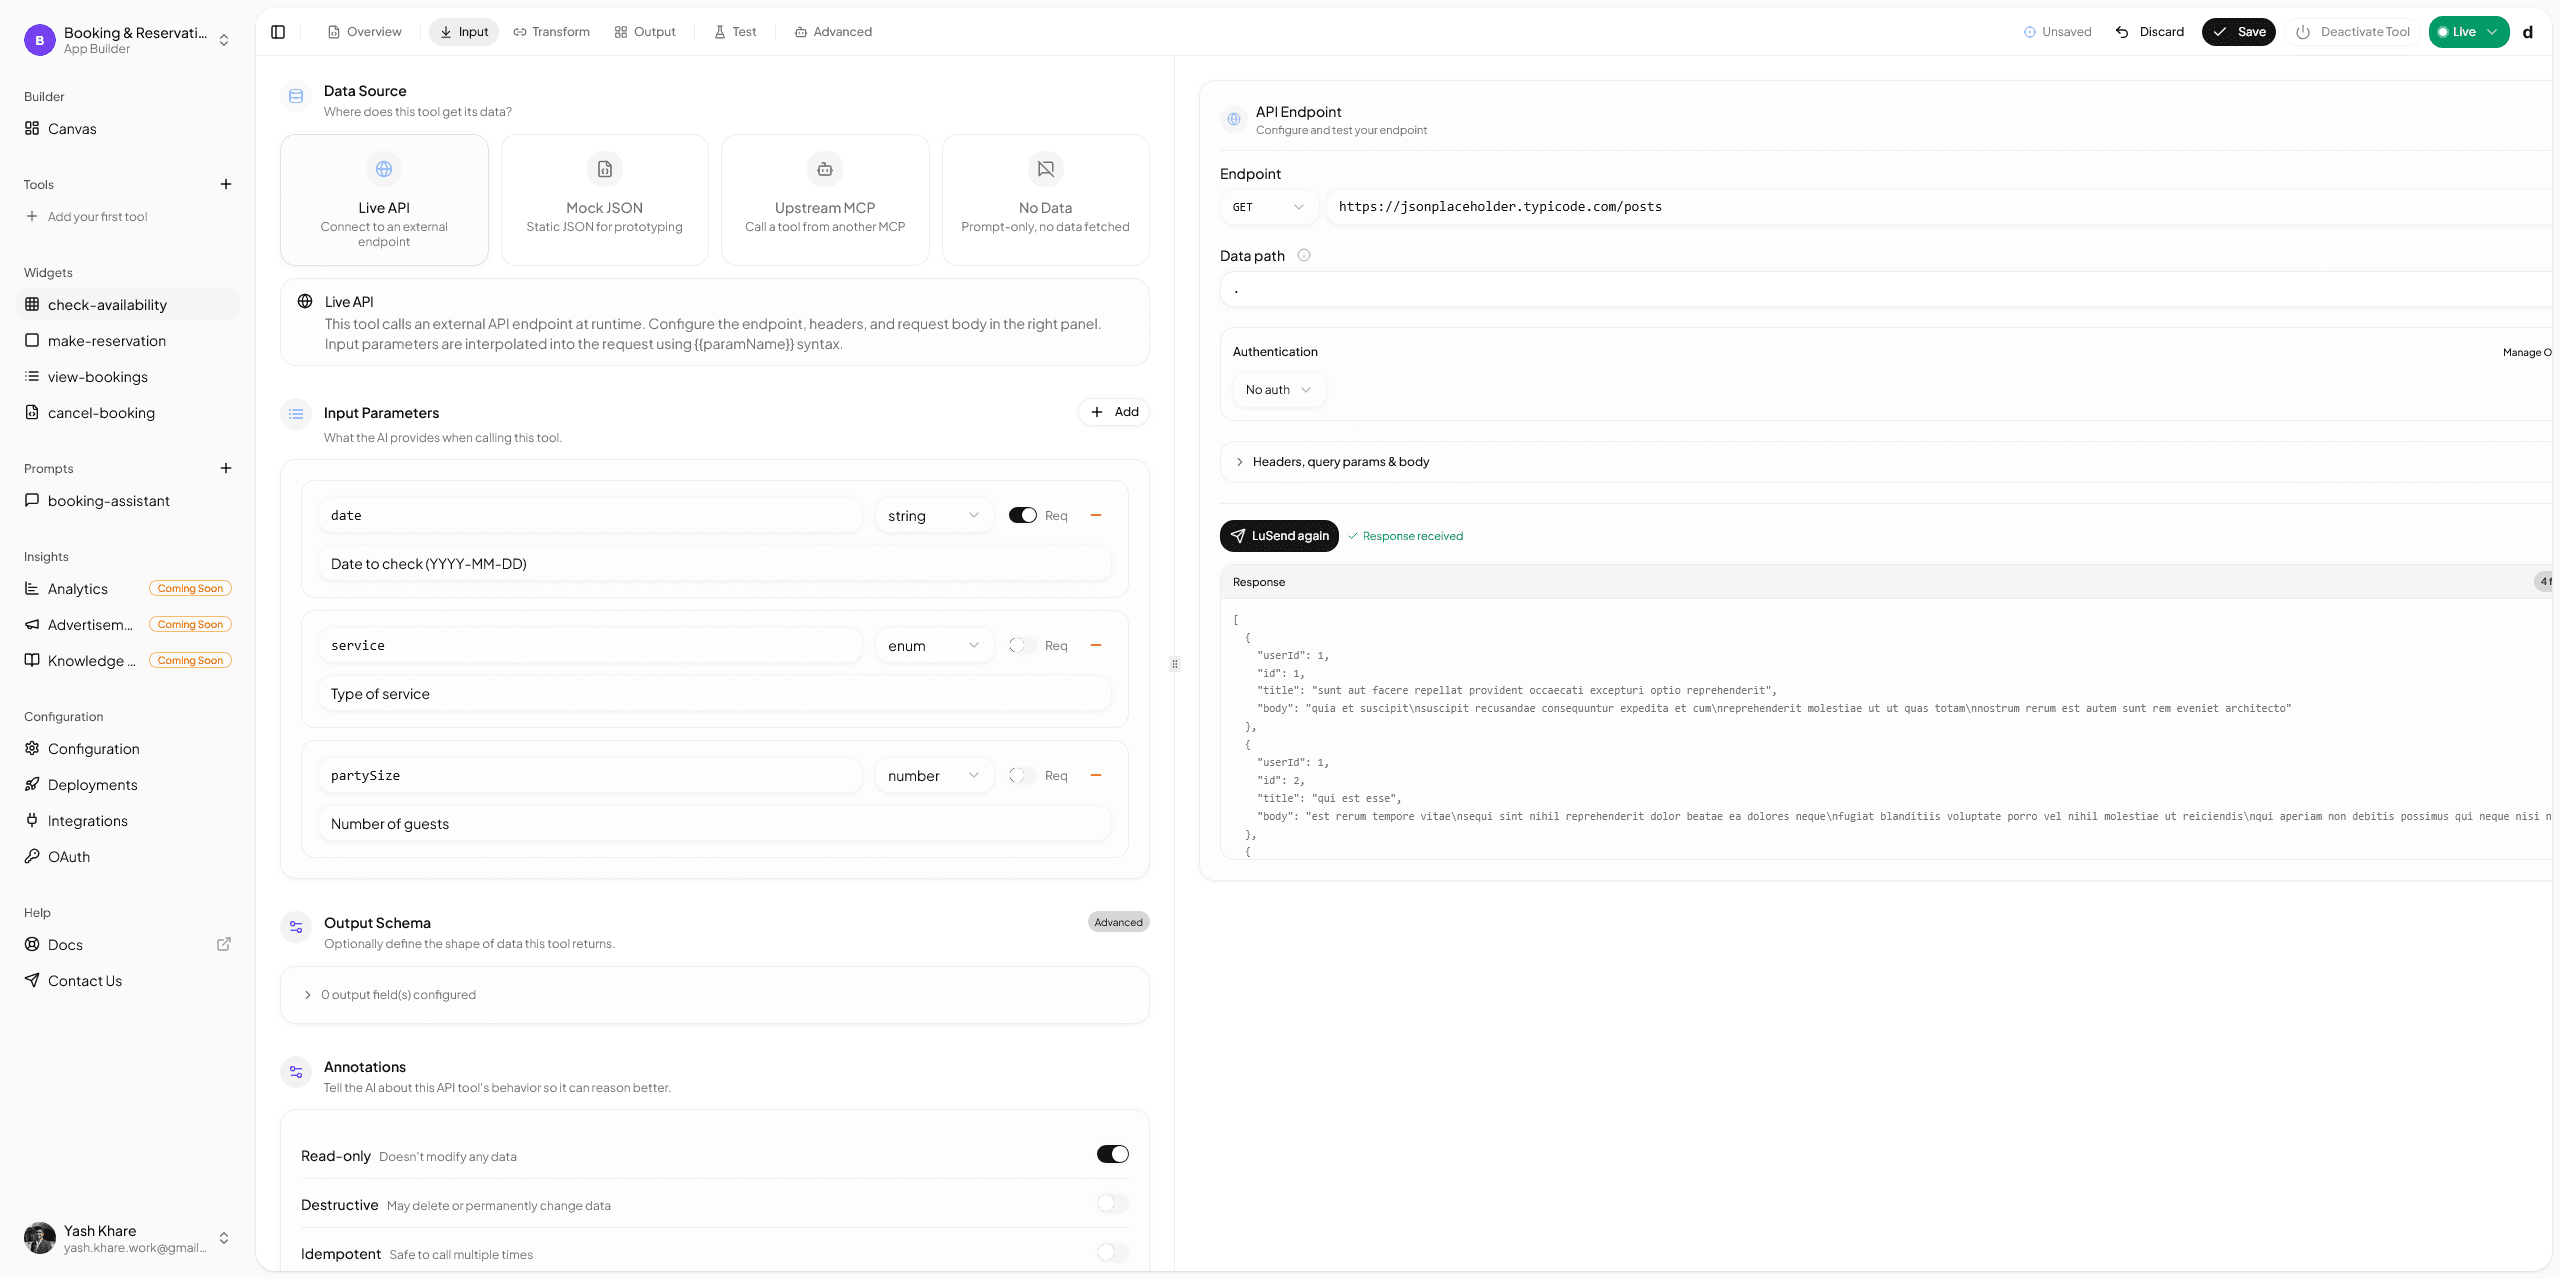
1:00 - Add one tool
Create a tool such as:
- Name:
get_weather - Description: "Get current weather conditions and a 7-day forecast for a city"
Add one input:
city
That is it.
Do not add units, date ranges, comparisons, alerts, and location fallbacks on the first pass. Those are second-build problems.
2:00 - Add the geocoding request
Use Open-Meteo's Geocoding API to turn a city string into coordinates.
Configure:
- Method:
GET - URL:
https://geocoding-api.open-meteo.com/v1/search - Query params:
name={{city}}count=1language=enformat=json
Test it once with a real city. You are looking for results[0].latitude and results[0].longitude.
That test is worth the minute it takes because it prevents the next step from becoming guesswork.
3:30 - Add the forecast request
Now add the actual weather request with Open-Meteo's forecast endpoint:
- Method:
GET - URL:
https://api.open-meteo.com/v1/forecast
Map latitude and longitude from the geocoding result into this second request, then ask only for the fields you need:
current=temperature_2m,relative_humidity_2m,weather_code,wind_speed_10mdaily=temperature_2m_max,temperature_2m_min,weather_codetimezone=autoforecast_days=7
By this point, the app already has the core logic. Everything after this is about making the answer easier to use.
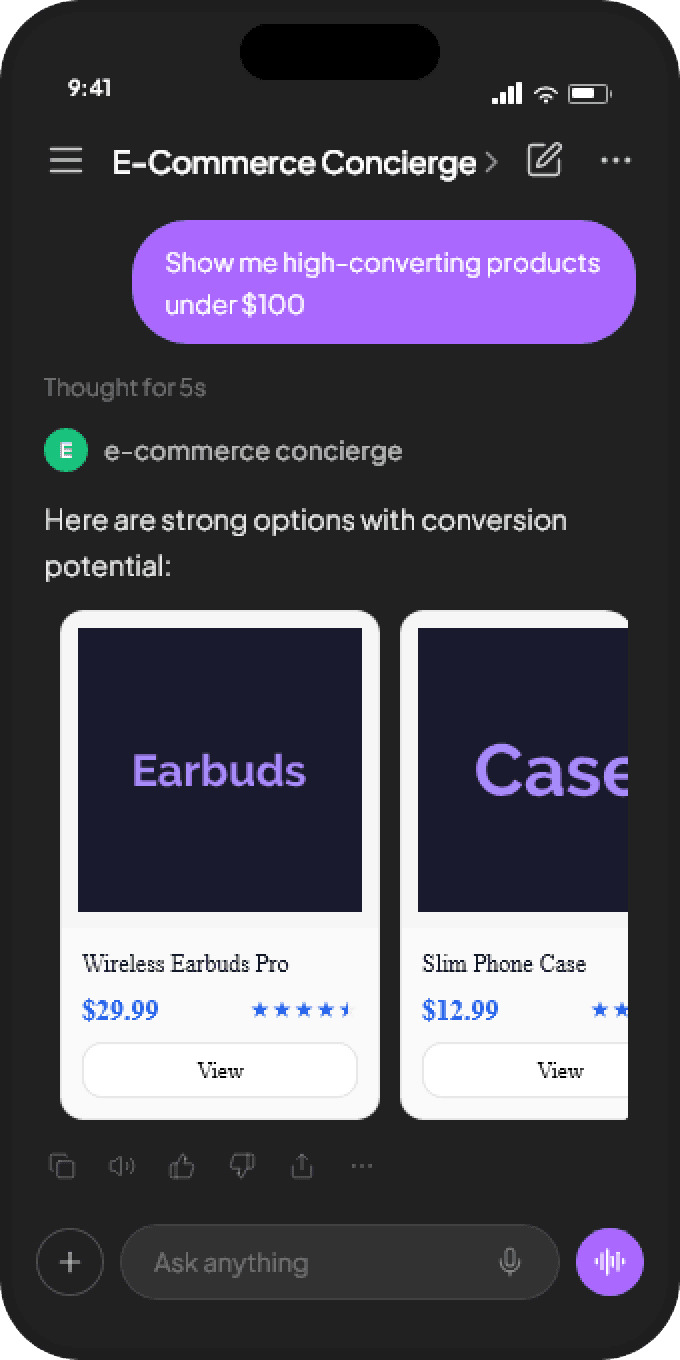
5:00 - Add the output layer
Use a two-part output:
- one small summary widget for current weather
- one chart or table for the 7-day view
This is the sweet spot for a speed-run because the result feels substantially better than plain text without forcing you into a big UI design exercise.
If you are unsure which widget to use, follow the simplest rule:
- current snapshot -> summary widget
- trend over time -> chart
That is enough to make the app feel intentional.
6:30 - Brand and preview
Now use the preview and branding pass to make sure the app feels real rather than half-finished.
At this point, you are checking:
- does the tool answer the prompt cleanly?
- is the output easy to scan?
- do the labels make sense?
- does the branded view still look clear?
This is the minute where the app stops feeling like a request pipeline and starts feeling like a product surface.
8:00 - Publish the endpoint
When the preview is stable, publish the app and copy the MCP endpoint.
Per the current drio endpoint docs, the endpoint shape is:
https://getdrio.com/api/mcp/your-app-slugThat is the link you will use in the client setup step.
9:00 - Connect it in ChatGPT
This is the only part of the speed-run that changes often enough to deserve a caveat.
As of April 23, 2026:
- OpenAI's developer mode guide says developer mode is available in beta to Pro, Plus, Business, Enterprise, and Education accounts on the web.
- OpenAI's Connect from ChatGPT guide says you can test your app in ChatGPT with your account using developer mode, then create a connector from a public
/mcpendpoint.
Because the settings surface can move, use How to Add MCP Tools to ChatGPT for the exact current steps if you hit any mismatch between this speed-run and the latest UI.
10:00 - Run the first real prompt
Once the app is connected, try a simple prompt:
- "What is the weather in Berlin?"
If the tool is selected, the response is readable, and the widget output feels useful, you are done. The first version shipped.
What to improve after the speed-run
Do not jump straight into a giant rebuild. Make the second version only one step better.
Good next moves:
- add a better empty state when geocoding returns no match
- include precipitation or UV data
- make the response wording cleaner
- add one follow-up action
- turn the single tool into a small multi-tool app
If you want the full API troubleshooting pass, go to Connecting Your First API. If you want better widget choices, read Building MCP Tools with Rich UIs.
Want the broader workflow after this?
Use Quickstart if you want the builder-oriented product flow, or Welcome to drio if you want the product overview first.
Summary
The reason a 10-minute build is possible is not that the work disappeared. It is that the first version got constrained correctly. One tool, one clean API flow, one usable response format, one preview pass, one published endpoint.
That is the real lesson from the speed-run. The first app should be small enough to finish, not broad enough to impress in theory.
FAQ
Can you really build an AI app in 10 minutes?
Yes, if you keep the first version narrow. One data source and one useful prompt is enough for a real first launch. The moment you add edge cases, multiple workflows, or custom auth, the timeline grows.
What is the best first app to build in drio?
A good first app answers one obvious question using one reliable system of record. Weather, catalog lookup, FAQ retrieval, and simple reporting flows are strong starting points because the scope is easy to keep under control.
Do I need ChatGPT developer mode for this speed-run?
You need it if you want to test a custom MCP-backed app in ChatGPT using OpenAI's current developer flow. OpenAI's docs currently describe developer mode as the path for testing your own app account-side.
Why use Open-Meteo in the tutorial?
Because it is easy to validate quickly. The docs are public, the geocoding and forecast APIs are well defined, and the basic path does not require an API key for the tutorial flow.
What should I build after the first speed-run?
Take the same structure and apply it to a real workflow your team cares about. The best second project is usually not a fancier demo. It is a narrower version of a real internal or customer-facing use case.
Get the Builder Brief
Weekly tactical notes on shipping ChatGPT apps, MCP integrations, and product-led distribution.