Build Custom ChatGPT Tools with MCP
End-to-end tutorial building a real-world ChatGPT tool from scratch — a product search tool that connects to an API and returns interactive widget cards.
This tutorial builds a working ChatGPT tool from scratch. We will create a product search tool that connects to a real API, returns structured data, and renders as interactive cards inside ChatGPT. Two tracks are covered: code-first with the TypeScript SDK, and visual with drio. Both produce the same result — a deployed MCP server that ChatGPT can use.
The target audience is developers who want to build something real, not just read about the protocol. If you need the protocol fundamentals first, read What Is MCP?. If you just want to connect an existing tool to ChatGPT, see How to Add MCP Tools to ChatGPT.
What we are building
A product search tool for ChatGPT that:
- Accepts a search query and optional category filter
- Calls the PokeAPI (as a stand-in for a product catalog — free, no auth, familiar to developers)
- Returns a list of results as interactive cards with images, names, types, and detail actions
- Supports a detail view when the user clicks a card
We use PokeAPI because it is free, requires no authentication, and returns rich structured data. In production, you would swap it for your actual product catalog API.
Track 1: Code-first with the TypeScript SDK
Project setup
Initialize the project and install the MCP TypeScript SDK:
mkdir pokemon-mcp && cd pokemon-mcp
npm init -y
npm install @modelcontextprotocol/sdk express
npm install -D typescript @types/express @types/node
npx tsc --init
Set "target": "ES2022" and "module": "NodeNext" in tsconfig.json.
Define the search tool
Create src/server.ts:
import { McpServer } from "@modelcontextprotocol/sdk/server/mcp.js";

const server = new McpServer({
  name: "pokemon-search",
  version: "1.0.0",
});

server.tool(
  "search_pokemon",
  "Search for Pokemon by name. Returns a list of matching Pokemon with images, types, and stats.",
  {
    query: {
      type: "string",
      description: "Pokemon name or partial name to search for",
    },
    limit: {
      type: "number",
      description: "Maximum results to return (default 5)",
    },
  },
  async ({ query, limit = 5 }) => {
    const response = await fetch(
      `https://pokeapi.co/api/v2/pokemon?limit=100`
    );
    const data = await response.json();

    // Filter by query
    const matches = data.results
      .filter((p: { name: string }) =>
        p.name.includes(query.toLowerCase())
      )
      .slice(0, limit);

    // Fetch details for each match
    const details = await Promise.all(
      matches.map(async (p: { url: string }) => {
        const res = await fetch(p.url);
        return res.json();
      })
    );

    // Format as structured content
    const cards = details.map((pokemon: any) => ({
      type: "text",
      text: [
        `**${pokemon.name.charAt(0).toUpperCase() + pokemon.name.slice(1)}**`,
        `Types: ${pokemon.types.map((t: any) => t.type.name).join(", ")}`,
        `HP: ${pokemon.stats[0].base_stat} | Attack: ${pokemon.stats[1].base_stat} | Defense: ${pokemon.stats[2].base_stat}`,
        `Image: ${pokemon.sprites.front_default}`,
      ].join("\n"),
    }));

    return {
      content: cards.length > 0
        ? cards
        : [{ type: "text", text: `No Pokemon found matching "${query}"` }],
    };
  }
);

export { server };
Key decisions:
- The
descriptionfield is what ChatGPT reads to decide when to invoke this tool. It must be specific and accurate. - The
inputSchemaproperties each have their own descriptions — these help ChatGPT construct correct arguments from natural language. - Error handling returns a text message, not an exception. This gives ChatGPT useful information to relay to the user.
Define the detail tool
Add a second tool for the drill-down view:
server.tool(
"get_pokemon_details",
"Get detailed information about a specific Pokemon by name, including stats, abilities, and moves.",
{
name: {
type: "string",
description: "Exact Pokemon name (lowercase)",
},
},
async ({ name }) => {
const response = await fetch(
`https://pokeapi.co/api/v2/pokemon/${name.toLowerCase()}`
);
if (!response.ok) {
return {
content: [{
type: "text",
text: `Pokemon "${name}" not found.`,
}],
};
}
const pokemon = await response.json();
return {
content: [{
type: "text",
text: [
`# ${pokemon.name.charAt(0).toUpperCase() + pokemon.name.slice(1)}`,
``,
`**Types:** ${pokemon.types.map((t: any) => t.type.name).join(", ")}`,
`**Height:** ${pokemon.height / 10}m | **Weight:** ${pokemon.weight / 10}kg`,
``,
`## Stats`,
...pokemon.stats.map((s: any) =>
`- ${s.stat.name}: ${s.base_stat}`
),
``,
`## Abilities`,
...pokemon.abilities.map((a: any) =>
`- ${a.ability.name}${a.is_hidden ? " (hidden)" : ""}`
),
``,
``,
].join("\n"),
}],
};
}
);This creates a two-tool pattern: search returns a list, detail returns a deep view. ChatGPT will naturally chain these — when a user asks about a specific Pokemon from the search results, it invokes the detail tool.
Add the HTTP transport
ChatGPT requires streamable HTTP. Create src/index.ts:
import express from "express";
import {
  StreamableHTTPServerTransport,
} from "@modelcontextprotocol/sdk/server/streamableHttp.js";
import { server } from "./server.js";

const app = express();
app.use(express.json());

app.post("/mcp", async (req, res) => {
  const transport = new StreamableHTTPServerTransport("/mcp");
  await server.connect(transport);
  await transport.handleRequest(req, res);
});

const PORT = process.env.PORT || 3000;
app.listen(PORT, () => {
  console.log(`MCP server running on port ${PORT}`);
});
Test locally
Before deploying, test with the MCP Inspector:
npx tsc && node dist/index.js
# In another terminal:
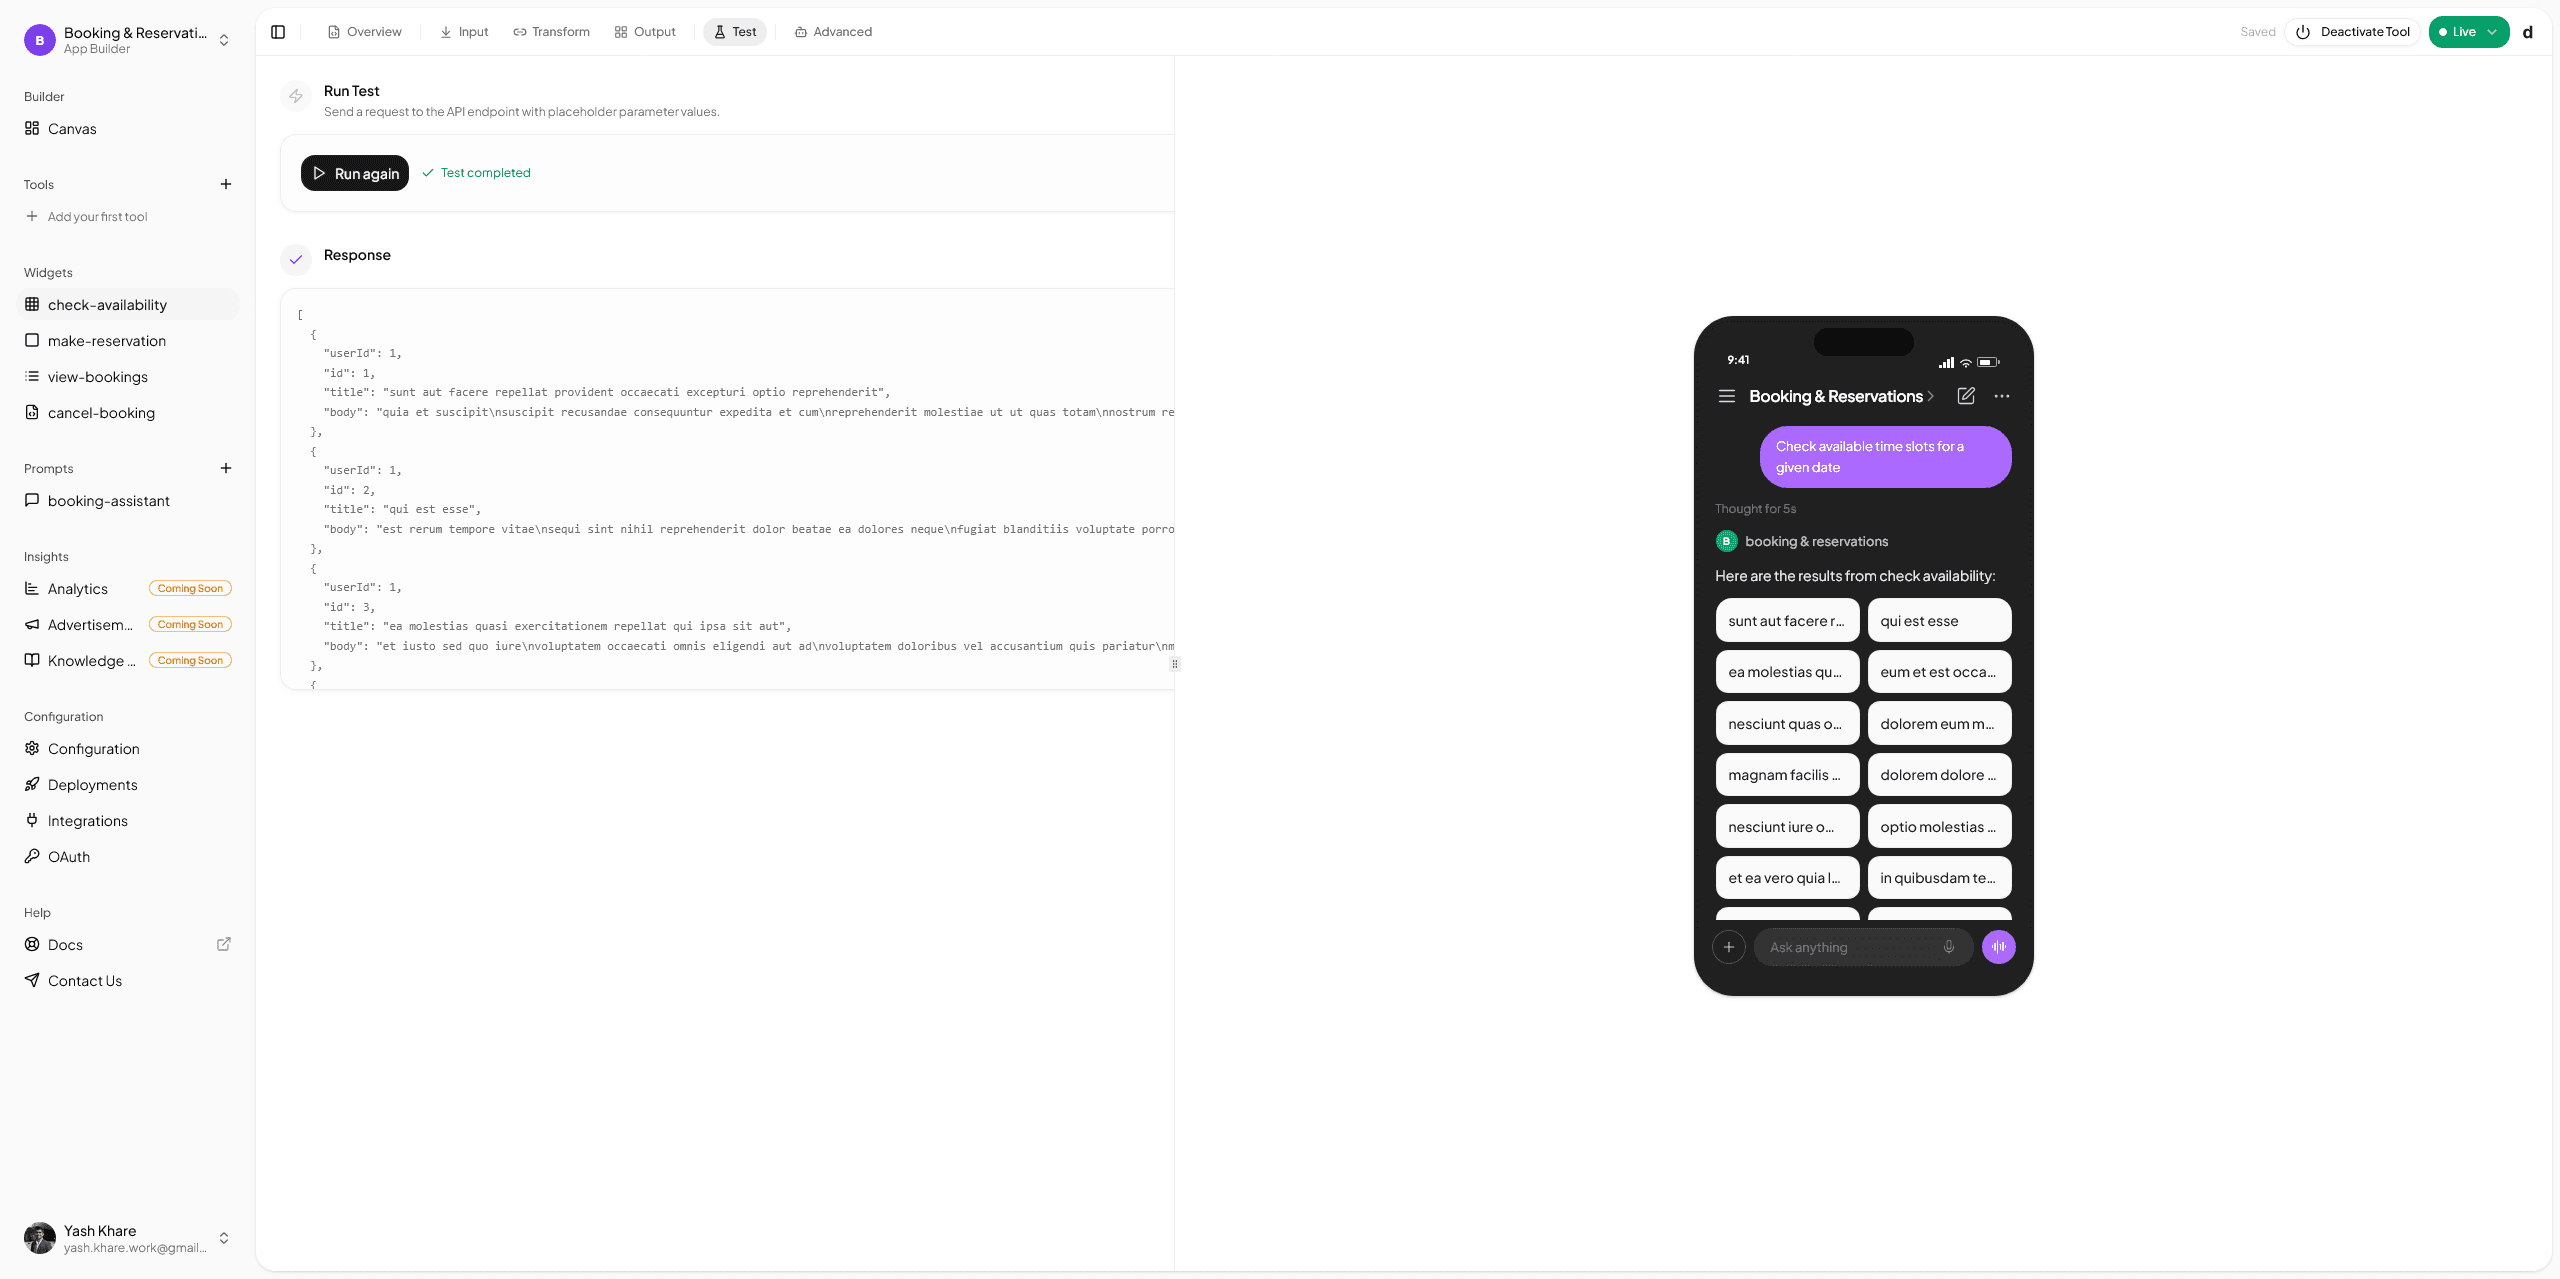
npx @modelcontextprotocol/inspector http://localhost:3000/mcpInspector connects to your server, lists available tools, and lets you invoke them with custom arguments. Verify:
- Both tools appear in the tool list
search_pokemonwith query"char"returns Charmander, Charmeleon, Charizardget_pokemon_detailswith name"pikachu"returns the full detail view
Deploy
Deploy to any cloud provider that supports Node.js. The only requirement is an HTTPS endpoint.
Vercel:
npm install -g vercel && vercel --prodRailway:
railway upFly.io:
fly deployOnce deployed, copy the HTTPS URL (e.g., https://pokemon-mcp.fly.dev/mcp) and add it to ChatGPT following the steps in How to Add MCP Tools to ChatGPT.
Track 2: Visual with drio
The same tool can be built visually in drio in a fraction of the time.
Step 1: Create the search tool
- Open the drio builder, create a new app
- Add a tool named
search_pokemonwith description matching the one above - Add parameter:
query(text, required) andlimit(number, optional, default 5)
Step 2: Connect the API
- Drag an API Request node onto the canvas
- Configure:
GET https://pokeapi.co/api/v2/pokemon?limit=100 - Test the request — verify you see the results array
For production, you would configure the query filtering in a transform node. For this tutorial, the API returns enough data to work with directly.
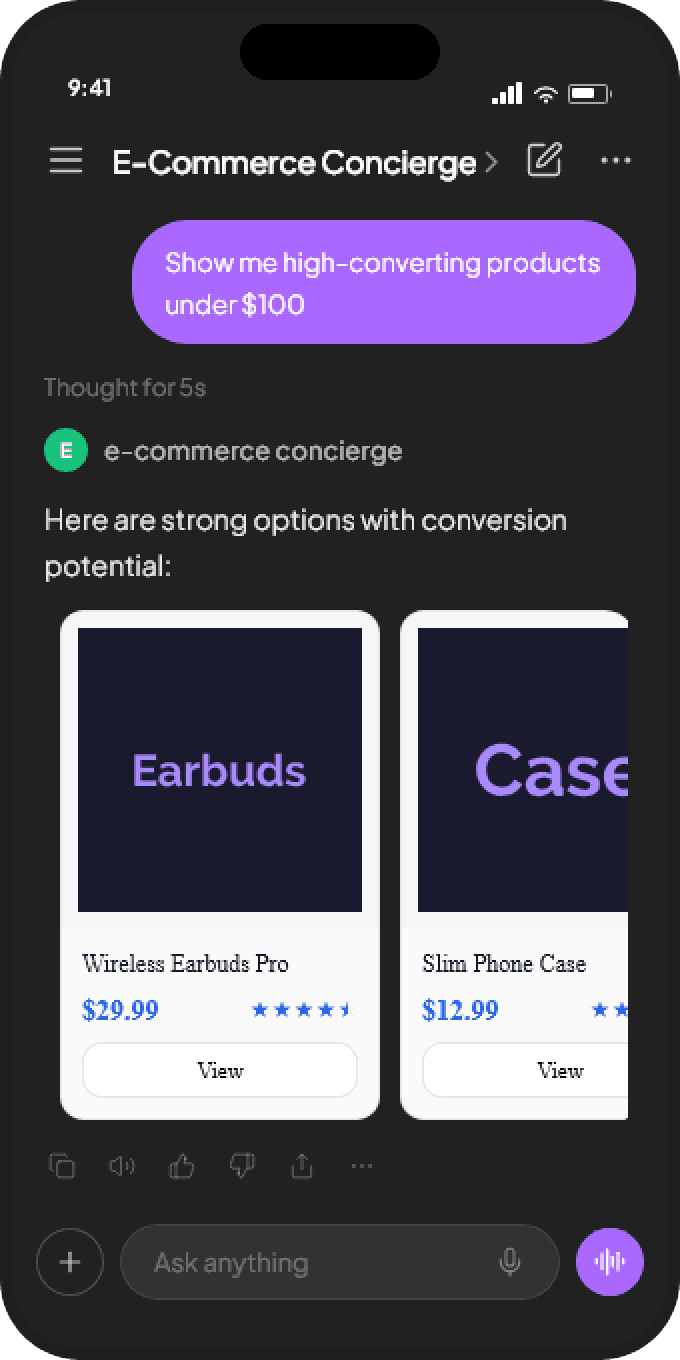
Step 3: Map to widgets
- Drag a Card widget onto the canvas. Map:
- Title: Pokemon name
- Subtitle: Types
- Image: Sprite URL
- Metadata: HP, Attack, Defense stats
- Add an action button: "View Details" — sends the Pokemon name back to the AI
Step 4: Create the detail tool
- Add a second tool:
get_pokemon_details - Add parameter:
name(text, required) - Connect a new API Request node:
GET https://pokeapi.co/api/v2/pokemon/{{name}} - Map to a detail Card widget with full stats, abilities, and artwork image
Step 5: Deploy
Click Deploy. Copy the endpoint URL. Add to ChatGPT.
The visual path produces the same MCP server — same tools, same schemas, same responses. The difference is time: minutes instead of an hour, with no TypeScript, no deployment configuration, and no infrastructure management.
For a deeper look at the API connection process, see Connecting Your First API. For widget design patterns, see Building MCP Tools with Rich UIs.
Advanced patterns
Error handling
Tools should return useful error messages, not throw exceptions. When an API call fails:
if (!response.ok) {
  return {
    content: [{
      type: "text",
      text: `API request failed (${response.status}). Please try again.`,
    }],
  };
}
ChatGPT will relay this message to the user and may attempt a different approach. Unhandled exceptions produce generic error messages that are not useful.
Tool chaining
Design tools to work together. The search tool returns names; the detail tool accepts a name. ChatGPT infers the chain: user asks for details on a search result, ChatGPT extracts the name and calls the detail tool. You do not need to implement the chaining — the AI handles it.
The key is consistent parameter naming. If the search tool returns a name field and the detail tool accepts a name parameter, ChatGPT connects them automatically.
Authentication
For APIs that require authentication, add the credentials in the MCP server, not in the tool schema. The AI should never see API keys:
const API_KEY = process.env.PRODUCT_API_KEY;

server.tool("search_products", "...", { query: { type: "string" } },
  async ({ query }) => {
    const response = await fetch(`https://api.example.com/products?q=${query}`, {
      headers: { "Authorization": `Bearer ${API_KEY}` },
    });
    // ...
  }
);
In drio, API credentials are configured in the Auth tab and encrypted at rest. They are injected at runtime and never exposed to the AI client.
Rate limiting
If your API has rate limits, implement caching or throttling in the server. MCP does not have built-in rate limiting — your server is responsible for managing API quotas.
A simple in-memory cache:
const cache = new Map<string, { data: any; timestamp: number }>();
const CACHE_TTL = 60_000; // 1 minute

async function cachedFetch(url: string) {
  const cached = cache.get(url);
  if (cached && Date.now() - cached.timestamp < CACHE_TTL) {
    return cached.data;
  }
  const response = await fetch(url);
  const data = await response.json();
  cache.set(url, { data, timestamp: Date.now() });
  return data;
}
Testing the complete flow
With the server deployed and connected to ChatGPT:
- "Search for fire type Pokemon" — ChatGPT invokes
search_pokemonwith query"fire", returns a list of matching Pokemon with cards - "Tell me more about Charizard" — ChatGPT invokes
get_pokemon_detailswith name"charizard", returns the full stat sheet - "How does Charizard compare to Blastoise?" — ChatGPT invokes
get_pokemon_detailstwice, then compares the results in natural language
This demonstrates the natural tool chaining that MCP enables. The user never mentions tool names or parameters — they speak naturally, and the AI translates intent into tool calls.
From tutorial to production
This tutorial used PokeAPI as a stand-in. To build a production tool:
- Swap the API — Replace PokeAPI with your actual product catalog, CRM, or database API
- Add authentication — Configure OAuth or API keys for your production API
- Improve error handling — Handle network failures, rate limits, invalid inputs, and empty results gracefully
- Add more tools — A single MCP server can expose many tools. Add cart management, order tracking, or recommendation tools alongside search.
- Customize widgets — In drio, configure brand colors, typography, and layout. With the SDK, use structured content types for rich rendering.
The protocol is the same regardless of what data you are serving. The patterns you learned here — tool definition, schema design, error handling, tool chaining — apply to every MCP application.
A well-built MCP tool feels invisible. The user asks a question, gets an answer with interactive UI, and never thinks about the protocol underneath.
Get the Builder Brief
Weekly tactical notes on shipping ChatGPT apps, MCP integrations, and product-led distribution.